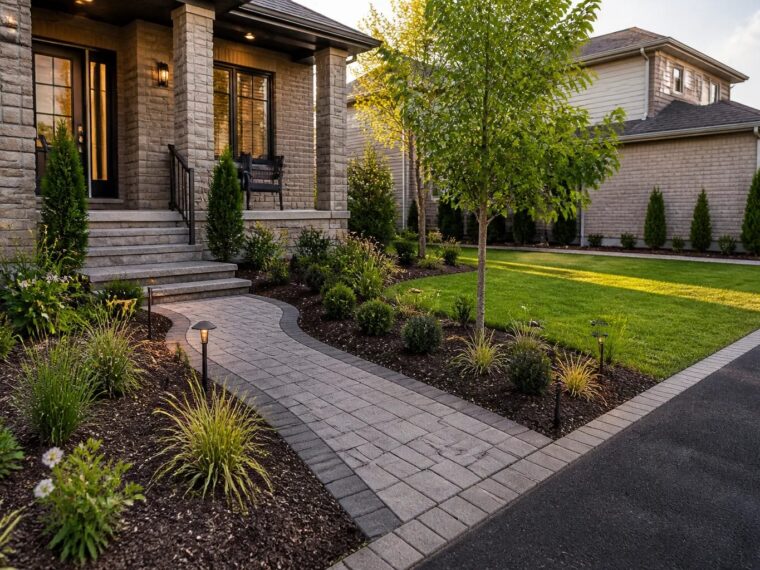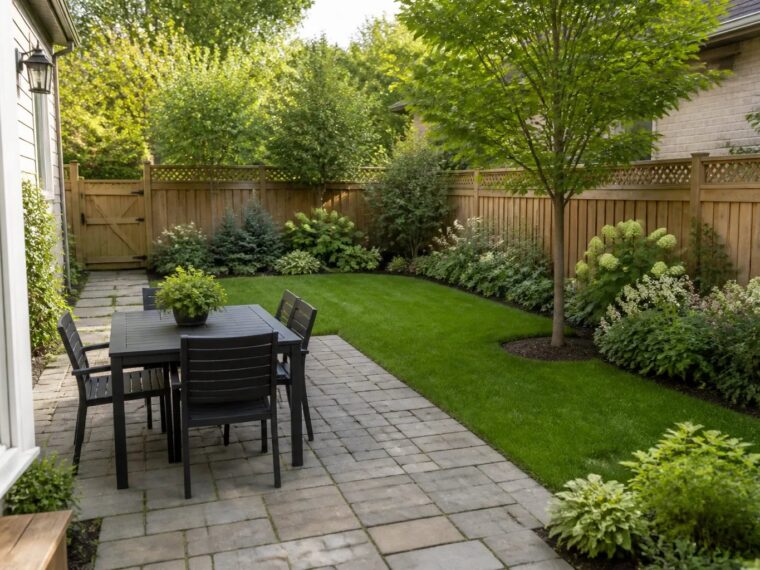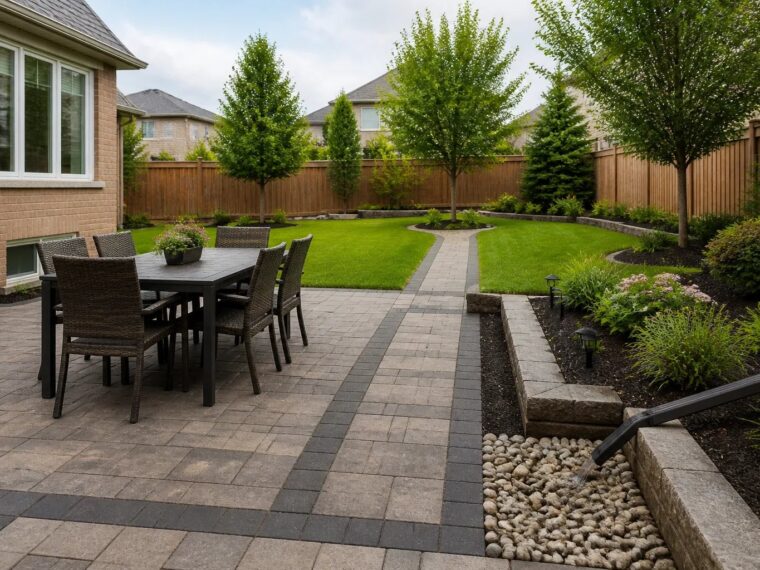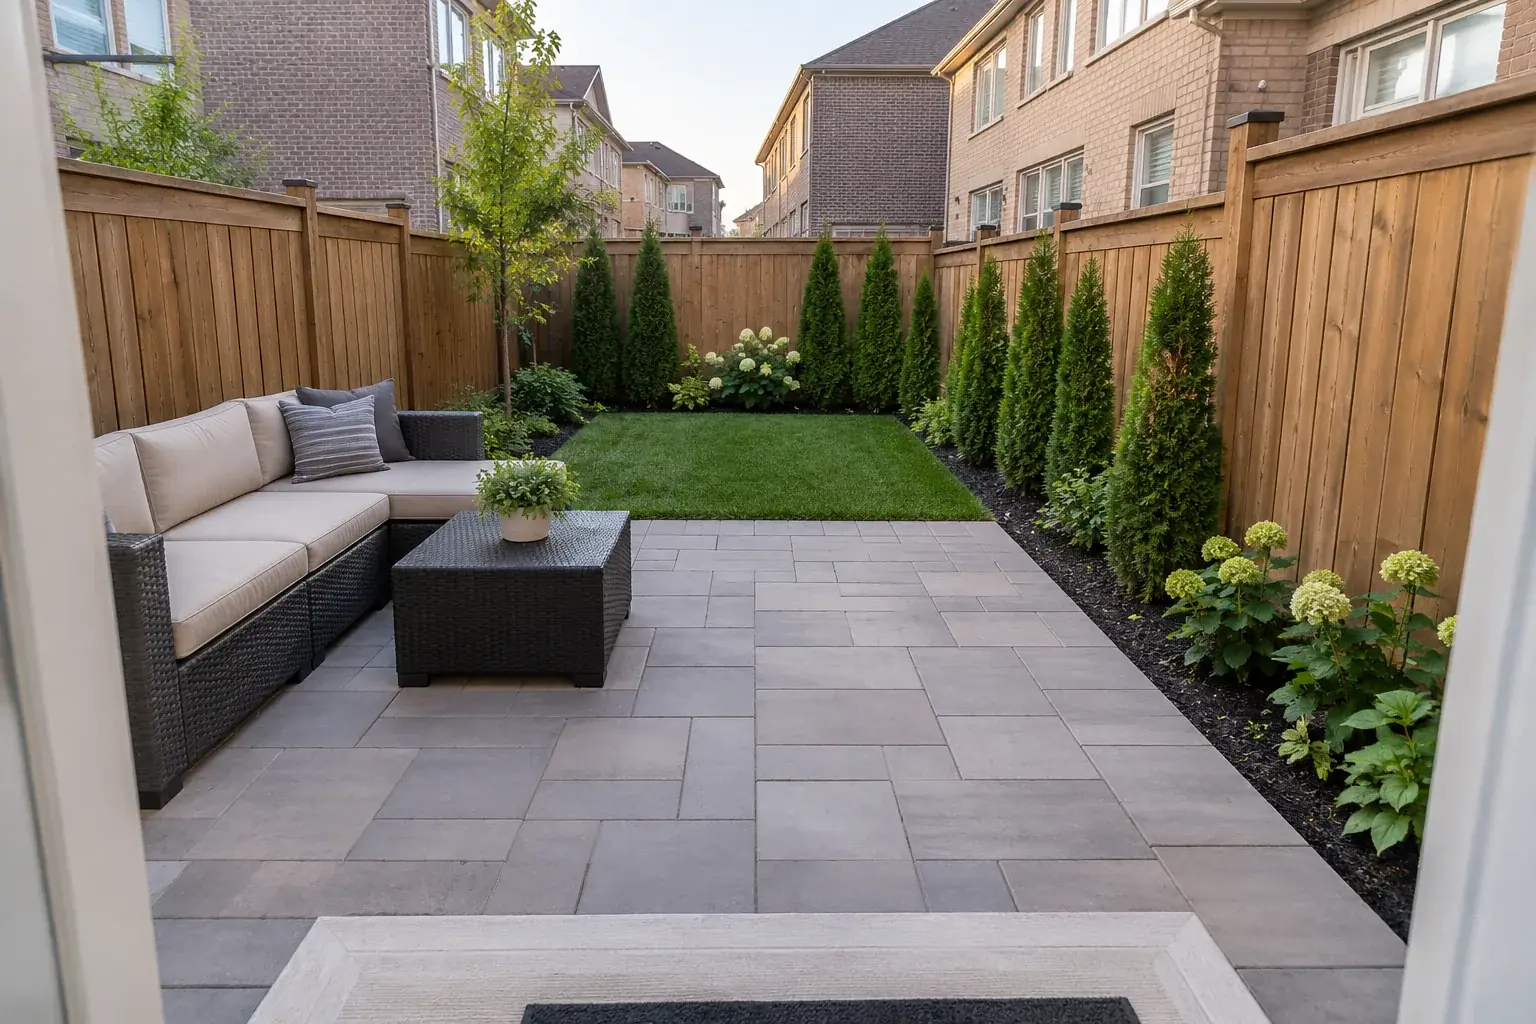
A backyard plan is strongest when it begins at the ground, not at the outdoor kitchen. The doors, slopes, runoff, side access and neighbouring views set the workable shape of the space. After those conditions are understood, a patio, lawn, garden and structure can be arranged to support the way the household uses the yard.
This approach is useful on both compact subdivision lots and more established properties. The constraints differ, so do not presume a particular soil, grade or approval condition merely from the Milton address. Walk the actual site, make a measured sketch and observe it in rain and sun before settling on finishes.
Step 1: Write down the activities
List dining, lounging, children’s play, pets, gardening, cooking, storage and entertaining in order of importance. Some can share a surface; others need separation. A dining patio placed beside the most-used door may save steps, while a quieter seating area may suit a garden corner. Sketch furniture at real dimensions, including chair clearance, grill use and a route through the gathering space.
Be practical about frequency. A large permanent feature for an activity used twice a year may crowd out lawn or everyday circulation. A simple, well-sized patio with a useful garden edge can be a better foundation for later additions than a yard packed with small disconnected destinations.
Step 2: Draw the existing conditions
Measure doors, steps, fence lines, gates, downspouts, utility covers, trees and existing hardscape. Show high and low points, visible swales and locations where water remains after a storm. Photograph the yard from the house and each corner. Note sunlight at the hours the space will actually be used, and identify neighbour-facing sightlines from windows as well as fences.
On an established lot, trees may provide shade and root zones that shape where excavation is practical. On a newer lot, narrow gates or approved drainage paths may be central. These are site questions to investigate, not rules about every Milton property.
Step 3: Follow water before choosing a patio
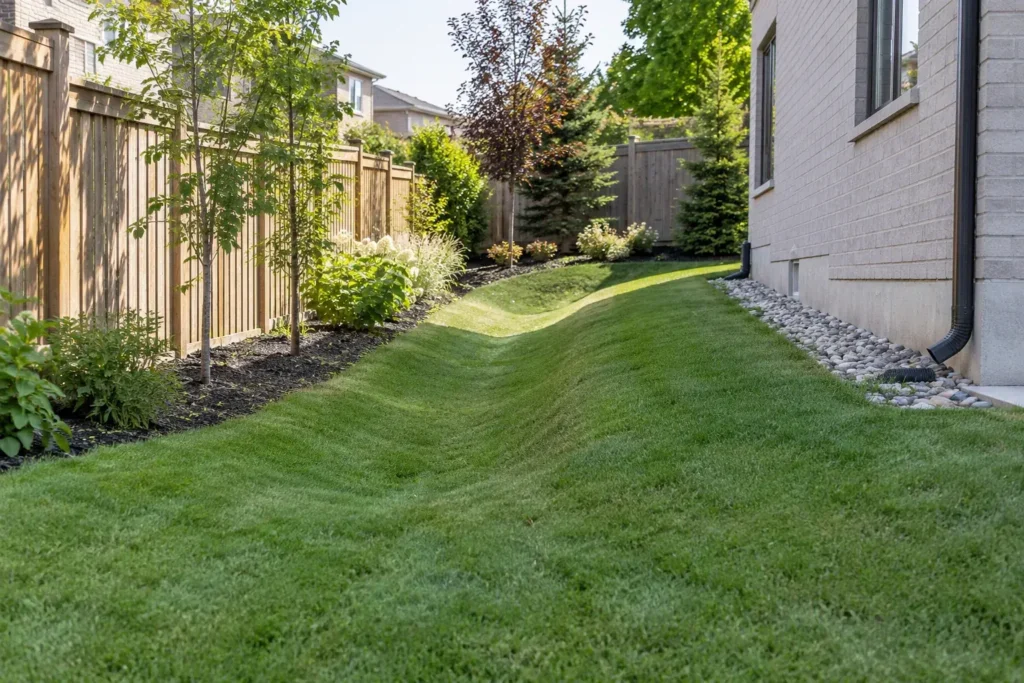
Trace roof discharge and ground slope through the proposed living area toward an appropriate outlet. A patio needs to meet the house and lawn at useful elevations while allowing water to move. Raising one side with a retaining edge can alter the route across the rest of the yard. Filling a swale simply to create a flatter garden is not a safe design shortcut.
If the yard already has soggy turf, ask whether roof runoff, an isolated depression, compacted soil or another source is involved. Landscape drainage is a property-specific diagnosis. A buried pipe should not be selected before its outlet and maintenance access are known. Sod will not correct an unresolved wet area.
Step 4: Organize movement
Draw a clear route from the house to gate, patio, lawn, shed, bins and any planned pool. Consider how a mower or wheelbarrow will move after construction. Side yards are often the only material access during installation and the only maintenance route afterward. A fence gate that looks right from the front can still be too narrow for the intended use.
Check changes in level. Steps need practical landings and alignment with the route people naturally take. A deck at a high door can connect to a patio below, but its stairs should not consume the most useful lawn strip. Walk the drawing in your mind with someone carrying food, toys or garden supplies.
Step 5: Make the patio fit furniture
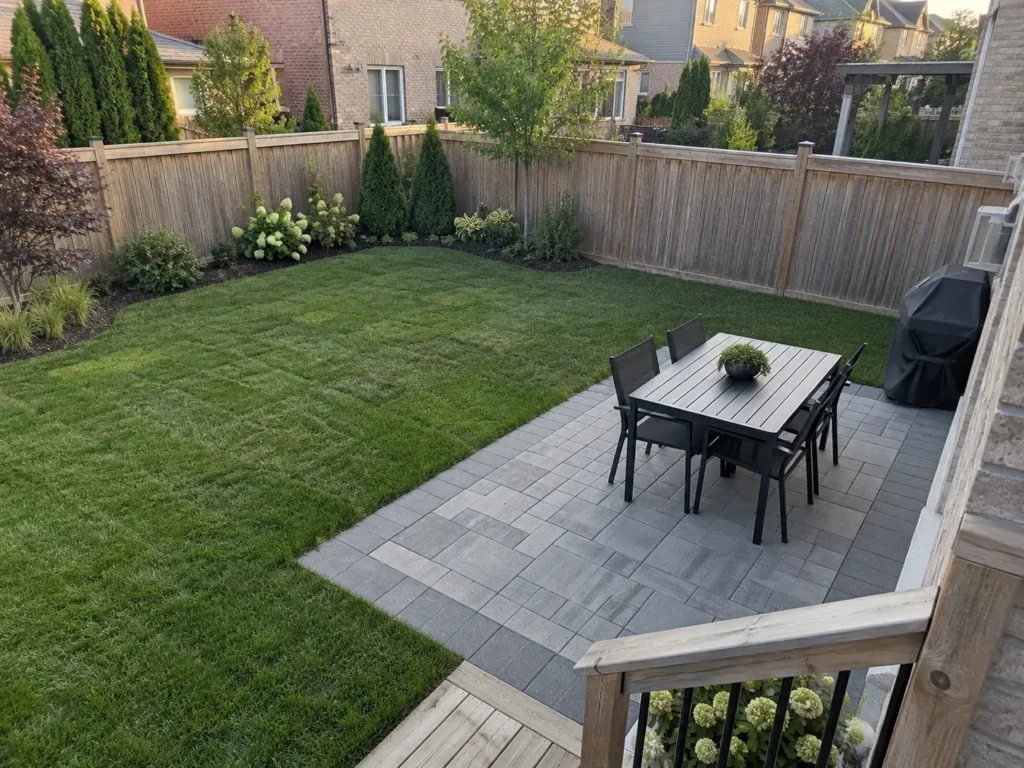
A seating area is not functional simply because a table technically fits. Pull chairs out on the sketch and keep circulation clear to doors and lawn. Consider shade and evening use. Choose interlock, concrete, natural stone or a deck after the footprint, grade and construction approach have been considered. The visible material cannot compensate for an undersized layout or poor base.
Connect hardscape edges to planting and turf deliberately. Avoid leftover triangles that cannot be maintained. A narrow strip between fence and patio may be better handled as a properly designed bed than a sliver of lawn; its soil and drainage still need attention.
Step 6: Plan privacy as sightlines
Stand at the proposed seating position and look toward neighbouring windows. A fence may screen ground-level movement while upper windows remain visible. A pergola, targeted screen, tree or layered planting can address different angles. Draw mature plant sizes and roots. A young hedge will not provide the same immediate screen as a built element, and overplanting for quick coverage can crowd the yard later.
Privacy should not close important air, light and access without a reason. Locate screens where they solve a real view rather than surrounding the entire property with the same treatment. Consult current rules for any proposed fence or structure.
Step 7: Add the features that earn their space
A deck, pergola, outdoor kitchen, fire feature or pool landscape may be valuable, but each introduces circulation, utilities, clearances or approval questions. Put the primary patio and routes on the plan first, then test whether the feature can fit without undermining them. A grill station may serve the yard better than a large island where space is limited.
Where gas or electrical work is proposed, involve appropriate qualified trades. For a contained wood-burning backyard fire, Milton has a burn-permit process; gas features follow a different path. Check current Town guidance for the selected design rather than assuming all fire features are treated alike.
Step 8: Set planting and maintenance expectations
Identify sun, shade, soil, irrigation needs and mature plant size. Mix structural planting with seasonal interest where it fits the desired care level. Mulch and decorative stone still need edging and upkeep. Artificial turf needs cleaning and attention to drainage and surface heat. No yard finish is maintenance-free.
Plan how lawn will be mowed, leaves collected and beds accessed after shrubs grow. Snow storage, if the backyard is used in winter, can affect delicate planting. The best scheme is one the household can keep functional, not merely one that looks full on installation day.
Step 9: Sequence work without rework
Resolve grade, drainage, utility locates and required approvals before demolition. Complete heavy access and subsurface work, then hardscape, structures, lighting routes, soil, planting and lawn restoration as appropriate. If the project must be phased, reserve the intended final elevations and route for later equipment. A temporary stage should still handle water and remain usable.
Ontario One Call explains public utility locates before digging; private irrigation, lighting or outdoor appliance lines may need separate private locates. If substantial fill or drainage-pattern changes are proposed, consult current Town site alteration guidance for the actual work.
Test the plan across seasons
A yard in summer has full planting and dry furniture; spring may reveal runoff and soft soil, while winter changes access and snow storage. Check whether the main path can be used in wet weather, whether downspout discharge crosses a step and where leaves collect. A pergola that shades the patio may shade adjacent lawn. A plan that considers these conditions can avoid selecting a plant or surface solely for its best-season appearance.
Use boundaries without creating dead space
A fence, hedge, retaining edge and planting bed can all define zones, but each consumes space. In a narrow backyard, a deep hedge on both sides may leave too little usable central area. Choose targeted screening where sightlines justify it, and keep a route for pruning and fence maintenance. A garden that cannot be accessed after shrubs mature will not stay as tidy as the opening-day photograph.
Decide what to keep
Not every existing element needs removal. A healthy tree can give valuable shade; a sound patio section may connect to a new surface; a fence may be retained if gate access and grade work allow it. Evaluate condition rather than automatically rebuilding everything. Conversely, retaining a failed base or obstructed drainage route merely because it is already there can compromise new construction.
Prepare a list of priorities and a separate list of elements worth preserving. That gives a design conversation a practical budget direction while leaving room to change a decision when the site investigation shows a hidden conflict.
If several owners or family members use the yard, ask each what daily friction they notice. One person may care about dining, another about the dog route, and another about garden access. A good plan resolves those movements in one footprint instead of allocating a separate small zone to every request.
Questions before you begin
Should a backyard design start with the patio size?
Start with intended use, furniture, doors, grades and circulation. Those observations lead to a patio footprint that works rather than an arbitrary size.
Can I build one feature now and add the rest later?
Yes, if a connected plan reserves elevations, drainage, access and utility routes. Otherwise later work may require removing a new finish.
What information helps a first estimate?
Send the address, broad and close photos, rough dimensions, desired uses, visible water problems and any survey. The backyard landscaping service page explains the connected scope. Request a landscaping estimate to discuss the actual yard.
Do a final walk-through of the sketch with the people who will maintain the yard. Where will hoses be stored, where will green waste leave and can a ladder reach the fence or house? Check whether a future shed would block a drain or gate. These details are easy to overlook when the design is viewed as a clean drawing; they become everyday friction after the landscape is built.
Have a question about your property?
Describe the existing site and the change you are considering.