
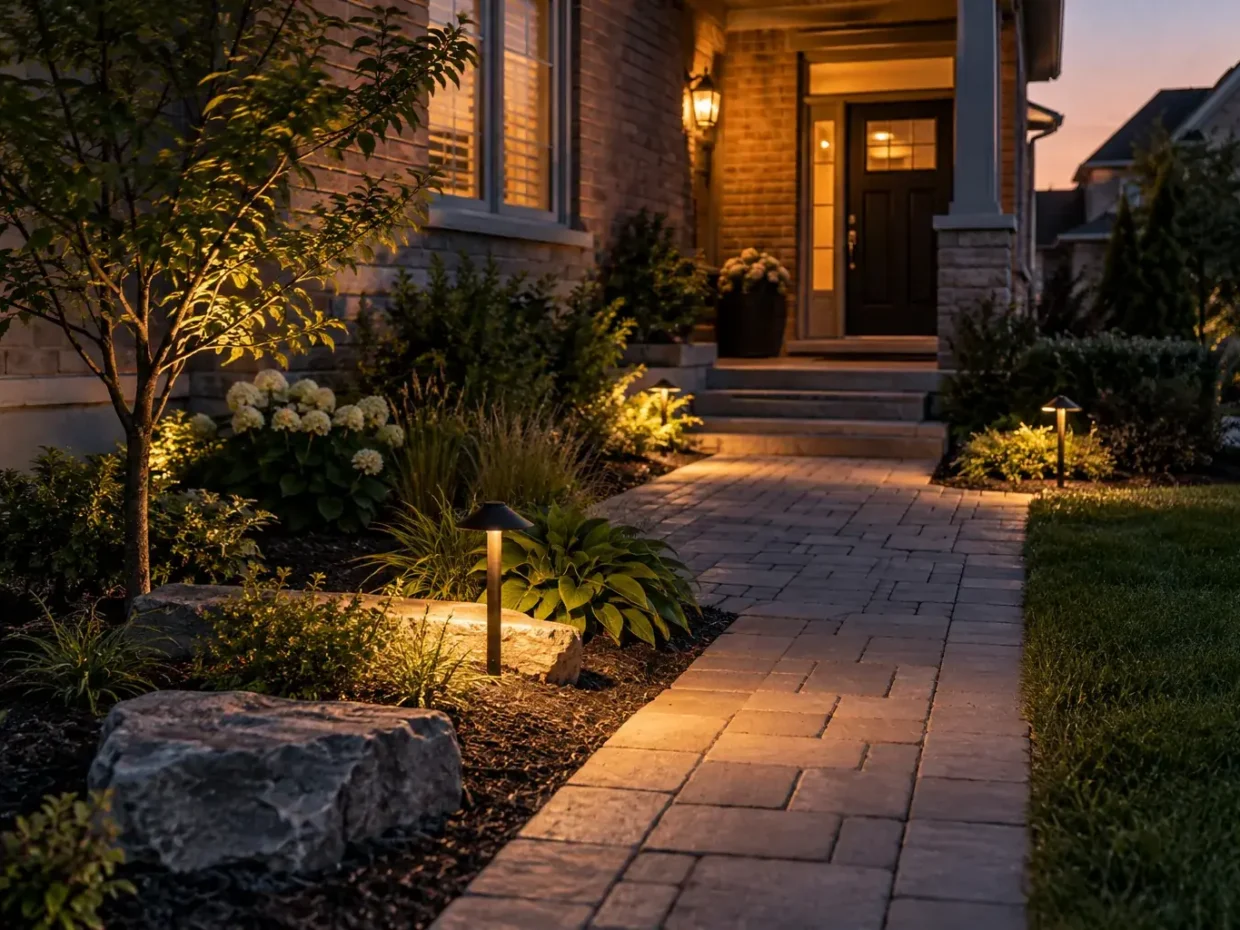
Outdoor lighting should make important routes legible and the landscape pleasant to use after dusk. More fixtures are not automatically better. Placement, beam direction and maintenance access should follow the way people move through the property.
What to examine for landscape lighting
Prioritize movement
Identify stairs, changes in level, gates and routes from car to door or house to patio.
Task lighting for these routes deserves attention before decorative accents.
Layer the scene
Combine modest path, step and selected accent light rather than flooding every surface evenly.
Darkness is also part of the composition and can preserve views from inside.
Control glare
Consider sightlines from seating, bedrooms, sidewalks and neighbouring windows.
A beam aimed at a tree can be attractive from one angle and distracting from another.
Coordinate wiring early
Plan routes under walks, patios and beds before finishing surfaces.
Appropriate qualified trades should review any electrical work that requires their involvement.
Light planting with growth in mind
Young trees and shrubs will change shape and can conceal fixtures.
Keep adjustment and cleaning access within the maintenance plan.
Choose serviceable fixtures
Exposure, snow, lawn equipment and irrigation affect placement and durability.
A light buried in mulch or struck by a mower will not hold its intended effect.
Balance security and comfort
An entrance may need clearer illumination than a quiet seating corner.
A good layout supports each use without excessive brightness.
Maintain the system
Plan periodic alignment, lens cleaning and checks after planting changes.
A landscape lighting plan evolves as plants mature and paths receive wear.
A lit pathway often needs fewer, better-aimed fixtures than a row of evenly spaced bright points. Try the route at night and notice what is hard to see: a step, gate latch or change of direction. Accents on a tree or wall can add depth, but should not shine into a nearby bedroom or a driver’s line of sight.
Make walking routes readable first
Walk the property after dusk. Note the step that disappears in shadow, the gate latch, the turn from driveway to front walk and the route from house to patio. These are more useful starting points than choosing an equal number of fixtures for each bed. Light should reveal changes in level and direction without putting a bright point directly in a visitor’s eyes.
Give each area an appropriate level
An entrance may need more practical light than a quiet garden corner. A dining area may benefit from ambient light and a focused task source, while an accent on a tree can create depth in the background. Avoid flattening every surface to the same brightness. Consider the view from indoor windows: a well-aimed light can extend the visible landscape at night, while glare can turn the glass into a mirror.
Test neighbour and street sightlines
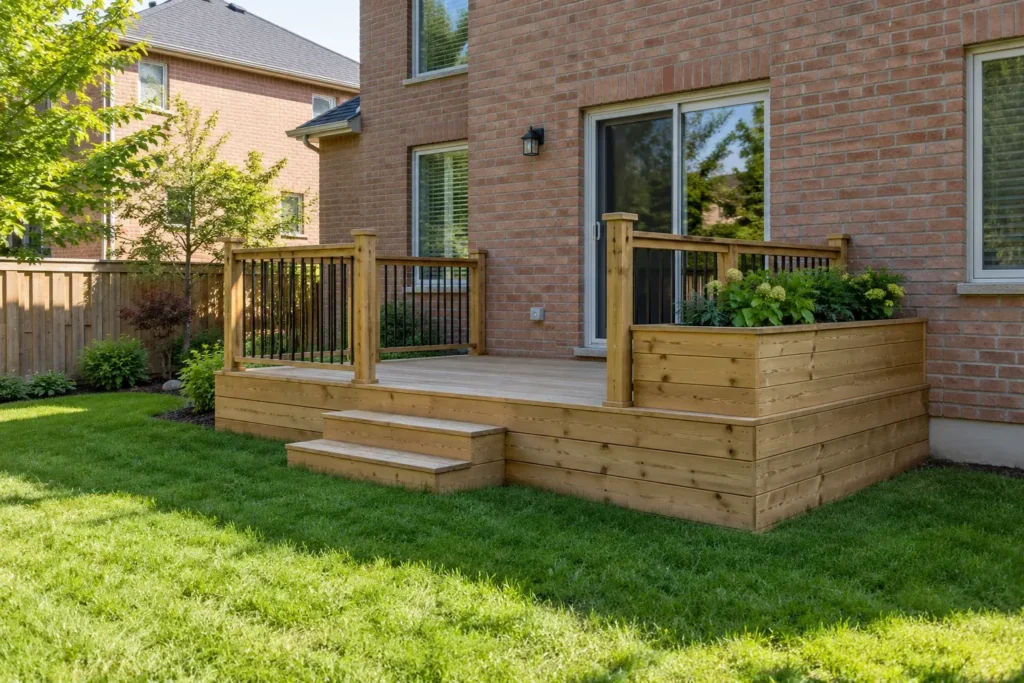
Look at proposed beams from the seating area, upper rooms, sidewalk and adjacent property where possible. Uplighting a tree can be attractive from the patio but intrusive toward a bedroom window. Aim, shielding and output matter. A useful plan can highlight selected vertical elements without flooding a fence line or creating a distracting view for drivers leaving the driveway.
Install routes before finishes
Lighting wire, transformers and any needed sleeves should be coordinated with patio, wall, step and planting construction. Later trenching across a new lawn or lifting fresh pavers adds avoidable work. Public and private buried lines should be identified before excavation, and regulated electrical work needs appropriately qualified involvement. Keep service points accessible rather than burying them in dense shrubs.
Choose fixture locations for maintenance
A path fixture at the lawn edge can be struck by a mower; a bed light can disappear under mulch or growing foliage; snow can cover a low fixture near the driveway. Position fixtures for the actual maintenance routine. Materials exposed to water and freeze-thaw should suit outdoor use. Ask how lenses, connections and aim will be checked over time.
Light plants as they grow
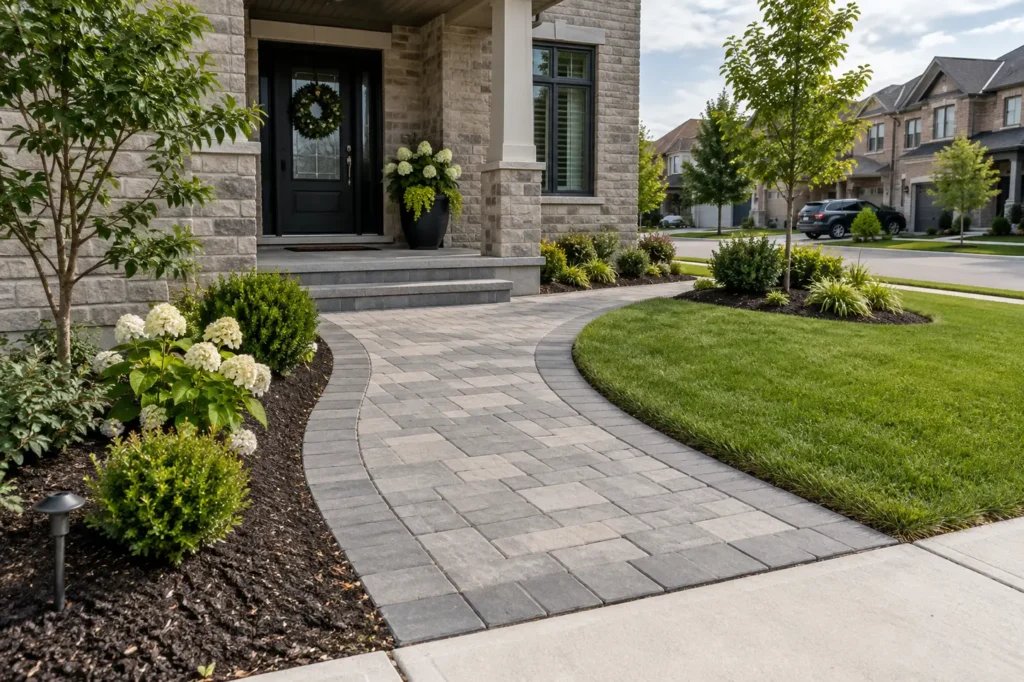
Young trees and hedges have a different form from mature ones. Leave adjustment room so a fixture can be re-aimed as branches spread. A new garden may not need every intended accent on opening night; the plan can reserve routes while planting develops. This is especially useful when the owner wants a restrained composition rather than many redundant lights.
Coordinate with water and irrigation
Spray heads should not repeatedly soak inappropriate fixtures, and lighting cable placement should not interfere with drainage or future planting. A low spot can remain wet even if it is invisible at night; solve the water condition before relying on lighting to make a path look complete. Hardscape steps and retaining edges should be evaluated for both daytime use and nighttime legibility.
What should be in the scope?
Identify paths, steps, entrances, patio zones, selected plants or walls, power and control needs, wiring routes, fixture types, maintenance access and any qualified trade responsibilities. Ask for a plan that distinguishes necessary route lighting from optional accent effects. A short night walk with photographs and a note about glare concerns can make the design conversation much more precise.
Make front and back lighting do different jobs
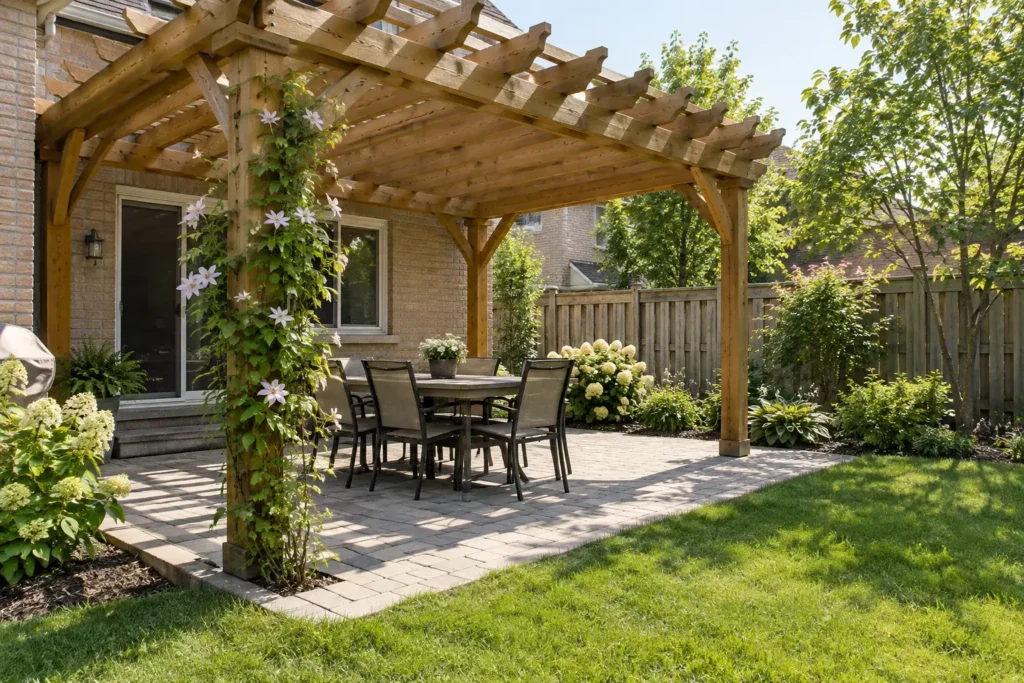
At the front, a clear route from sidewalk or car to porch and a readable entrance may be the priority. In the back, a patio and step may need practical light while a few accents give depth to planting. The side yard may need only a modest wayfinding cue at a gate. Treating all three with identical fixtures and spacing can waste light and create glare. Draw the zones with the tasks people perform in each.
What should the night review reveal?
Try walking the routes in ordinary conditions, not only during a staged demonstration. Notice where a stair is difficult to read, where the light source becomes visible and how the neighbour-facing side looks. A fixture aimed correctly at installation may need adjustment after shrubs grow or a new fence changes reflections. Maintenance and future aiming should be described as part of the system.
For an estimate, share a site plan or rough sketch, night photographs where possible and the specific routes or features to illuminate. State whether patios and beds are still under construction; installing routes before their finish may change both scope and efficiency.
Control the system in a useful way
Consider how and when each zone is used. An entrance route may need a different schedule from garden accents, and a patio may be lit only while occupied. Controls can simplify use, but the system should still be understandable and serviceable. Ask how settings will be adjusted after seasons change or the planting matures. A night review after installation can reveal an aim or timing adjustment that a daytime handoff misses.
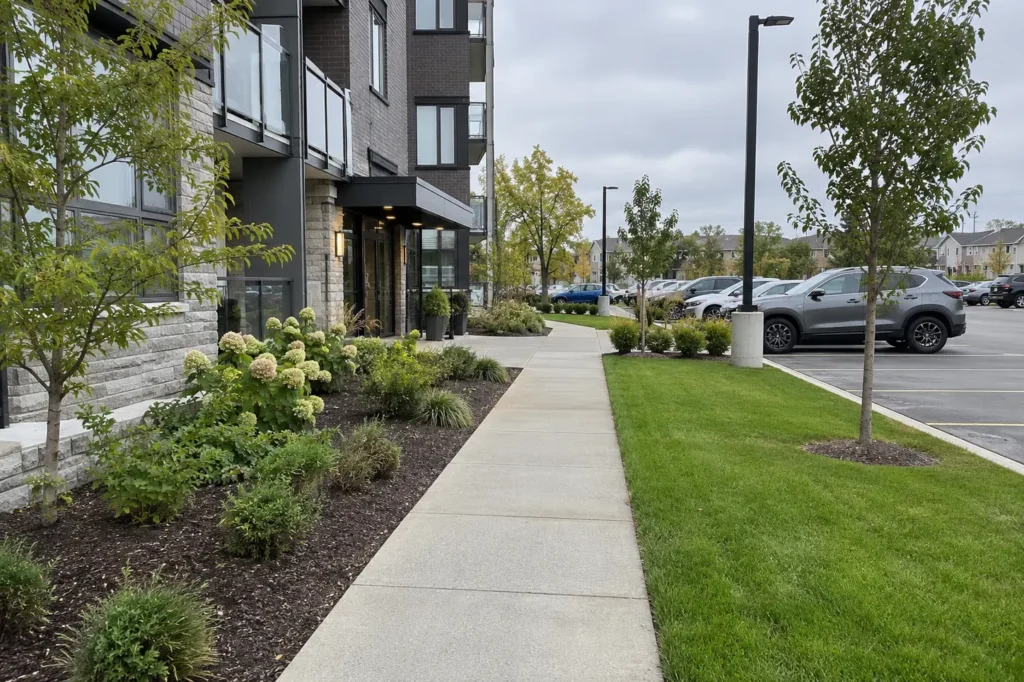
Lighting and the home façade
Check porch fixtures and interior spill light before adding landscape fixtures. Some routes may already have sufficient illumination, while a step beyond the porch remains dark. Coordinate colour appearance and brightness so the property reads as one scene. A bright uplight at a bedroom window is a poor trade for dramatic photography; controlled light can show the landscape without interrupting ordinary use.
Keep access to transformers, connections and fixtures. A plan that buries them in future hedge growth may become difficult to repair.
If a pool or outdoor kitchen is planned later, record potential routes before paving. Do not install numerous fixtures in a zone that will soon be excavated. A phased lighting plan can make the main steps and entrances functional now while reserving later accents for the final planting and furniture layout.
Discuss landscape lighting for your Milton property
Send a rough route map and tell us which steps or entrances are difficult to see at night. Discuss landscape lighting around useful illumination and controlled glare.